
How I make my signature twisted ring
With the recent launch of my new Signature collection I wanted to share more about this range, how they’re made and what makes them so special.
A number of years ago, I began experimenting with different twist combinations using separate wires. A technique often used to create beautifully unique, decorative jewellery, typically using a two wire combination. During this process, I found a combination of three sterling silver wires that worked really well together. Two of them, however, are naturally quite delicate in their original form.
Over the years I’ve refined the making process through lots of trial and error. Even now, these pieces can be very challenging to create and labour intensive, however that’s part of what makes them so rewarding to make. Each one is a labour of love and a reflection of why, when you buy handmade, you’re not only buying something original, crafted with care and attention, you’re also supporting crafts people and helping preserve traditional skills and the industries that support them.

So, how are they made?
I start off with three separate wires, making sure each one is straight, carefully hammering out any kinks or curves. Once they’re aligned in the right order, I solder the ends together to create one unified piece, ready for twisting.
Twisting may sound simple, however it’s one of the most unpredictable parts of the process. There are different techniques I’ve tried over the years, and it often comes down to trial and error. Recently, the two delicate wires in my twist combination have been… let’s just say, temperamental. Because of their fragility, I’ve started using two power drills, one on each end, rotating in opposite directions. This is where I need a second person to operate one of the drills and to keep me calm while I nervously watch the wires twist - thanks Dad!

When the twist goes smoothly, I can usually make about five rings from one length of wire, however because of those delicate wires, things don’t always go according to plan. Sometimes the twist shifts out of alignment, or worse, one of the wires breaks under the drill’s pressure. When that happens, I may only get three or four rings from the same length of silver. At this point, we can only twist the wire to a certain point, so some twists may be tighter than others and the ring sizes may slightly differ. Any cut off’s where the twist has gone wrong, I try to repurpose into earrings so there’s little wastage.
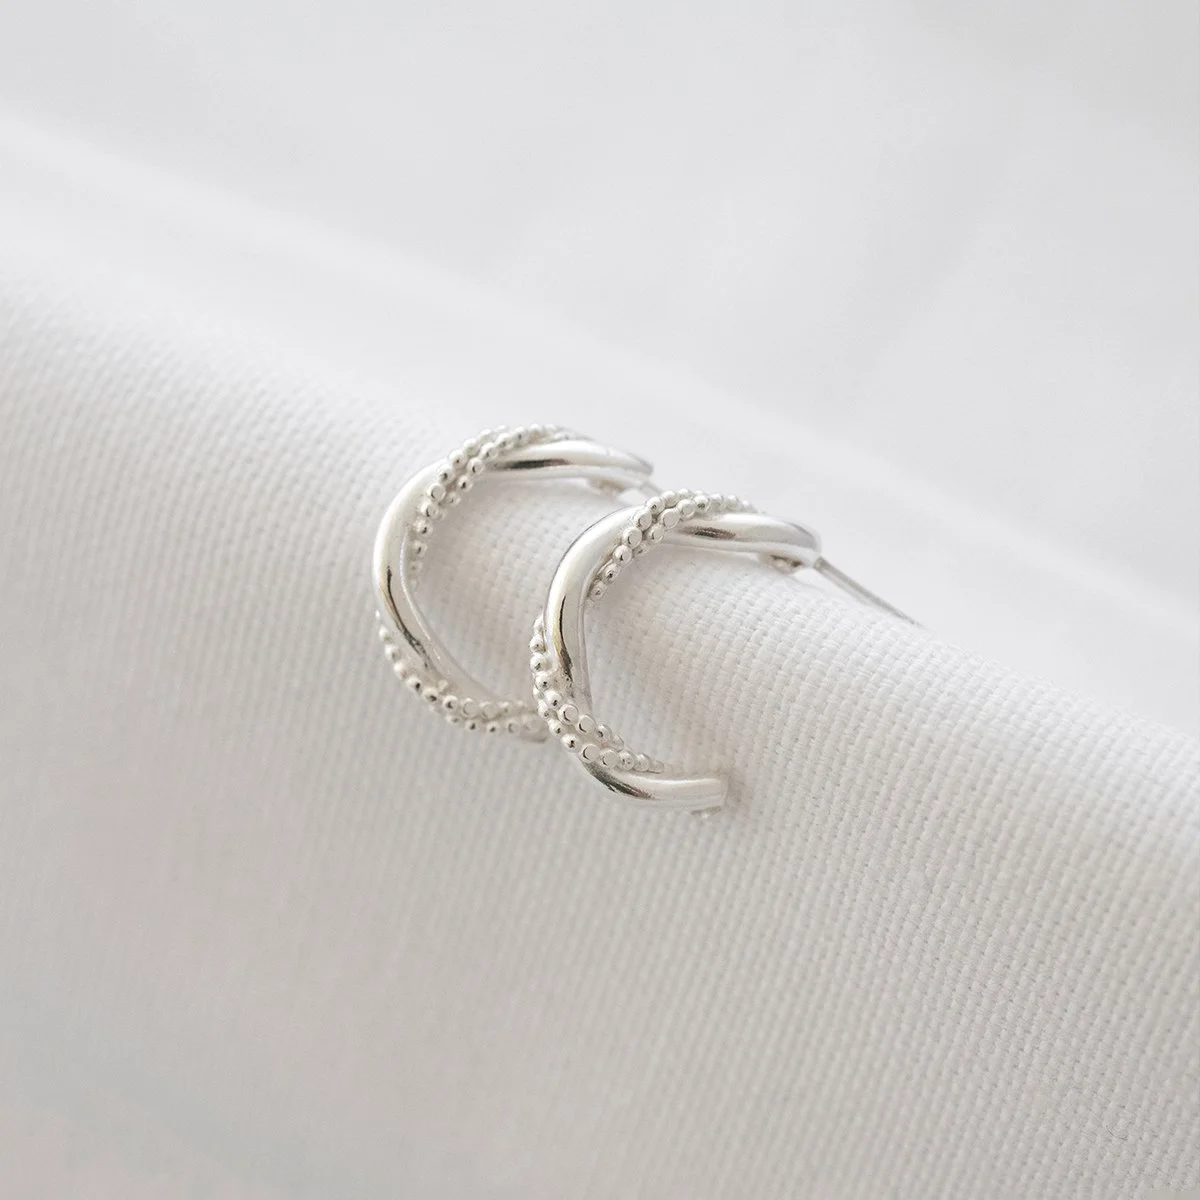
Sterling Silver Twisted Half Hoop Earrings
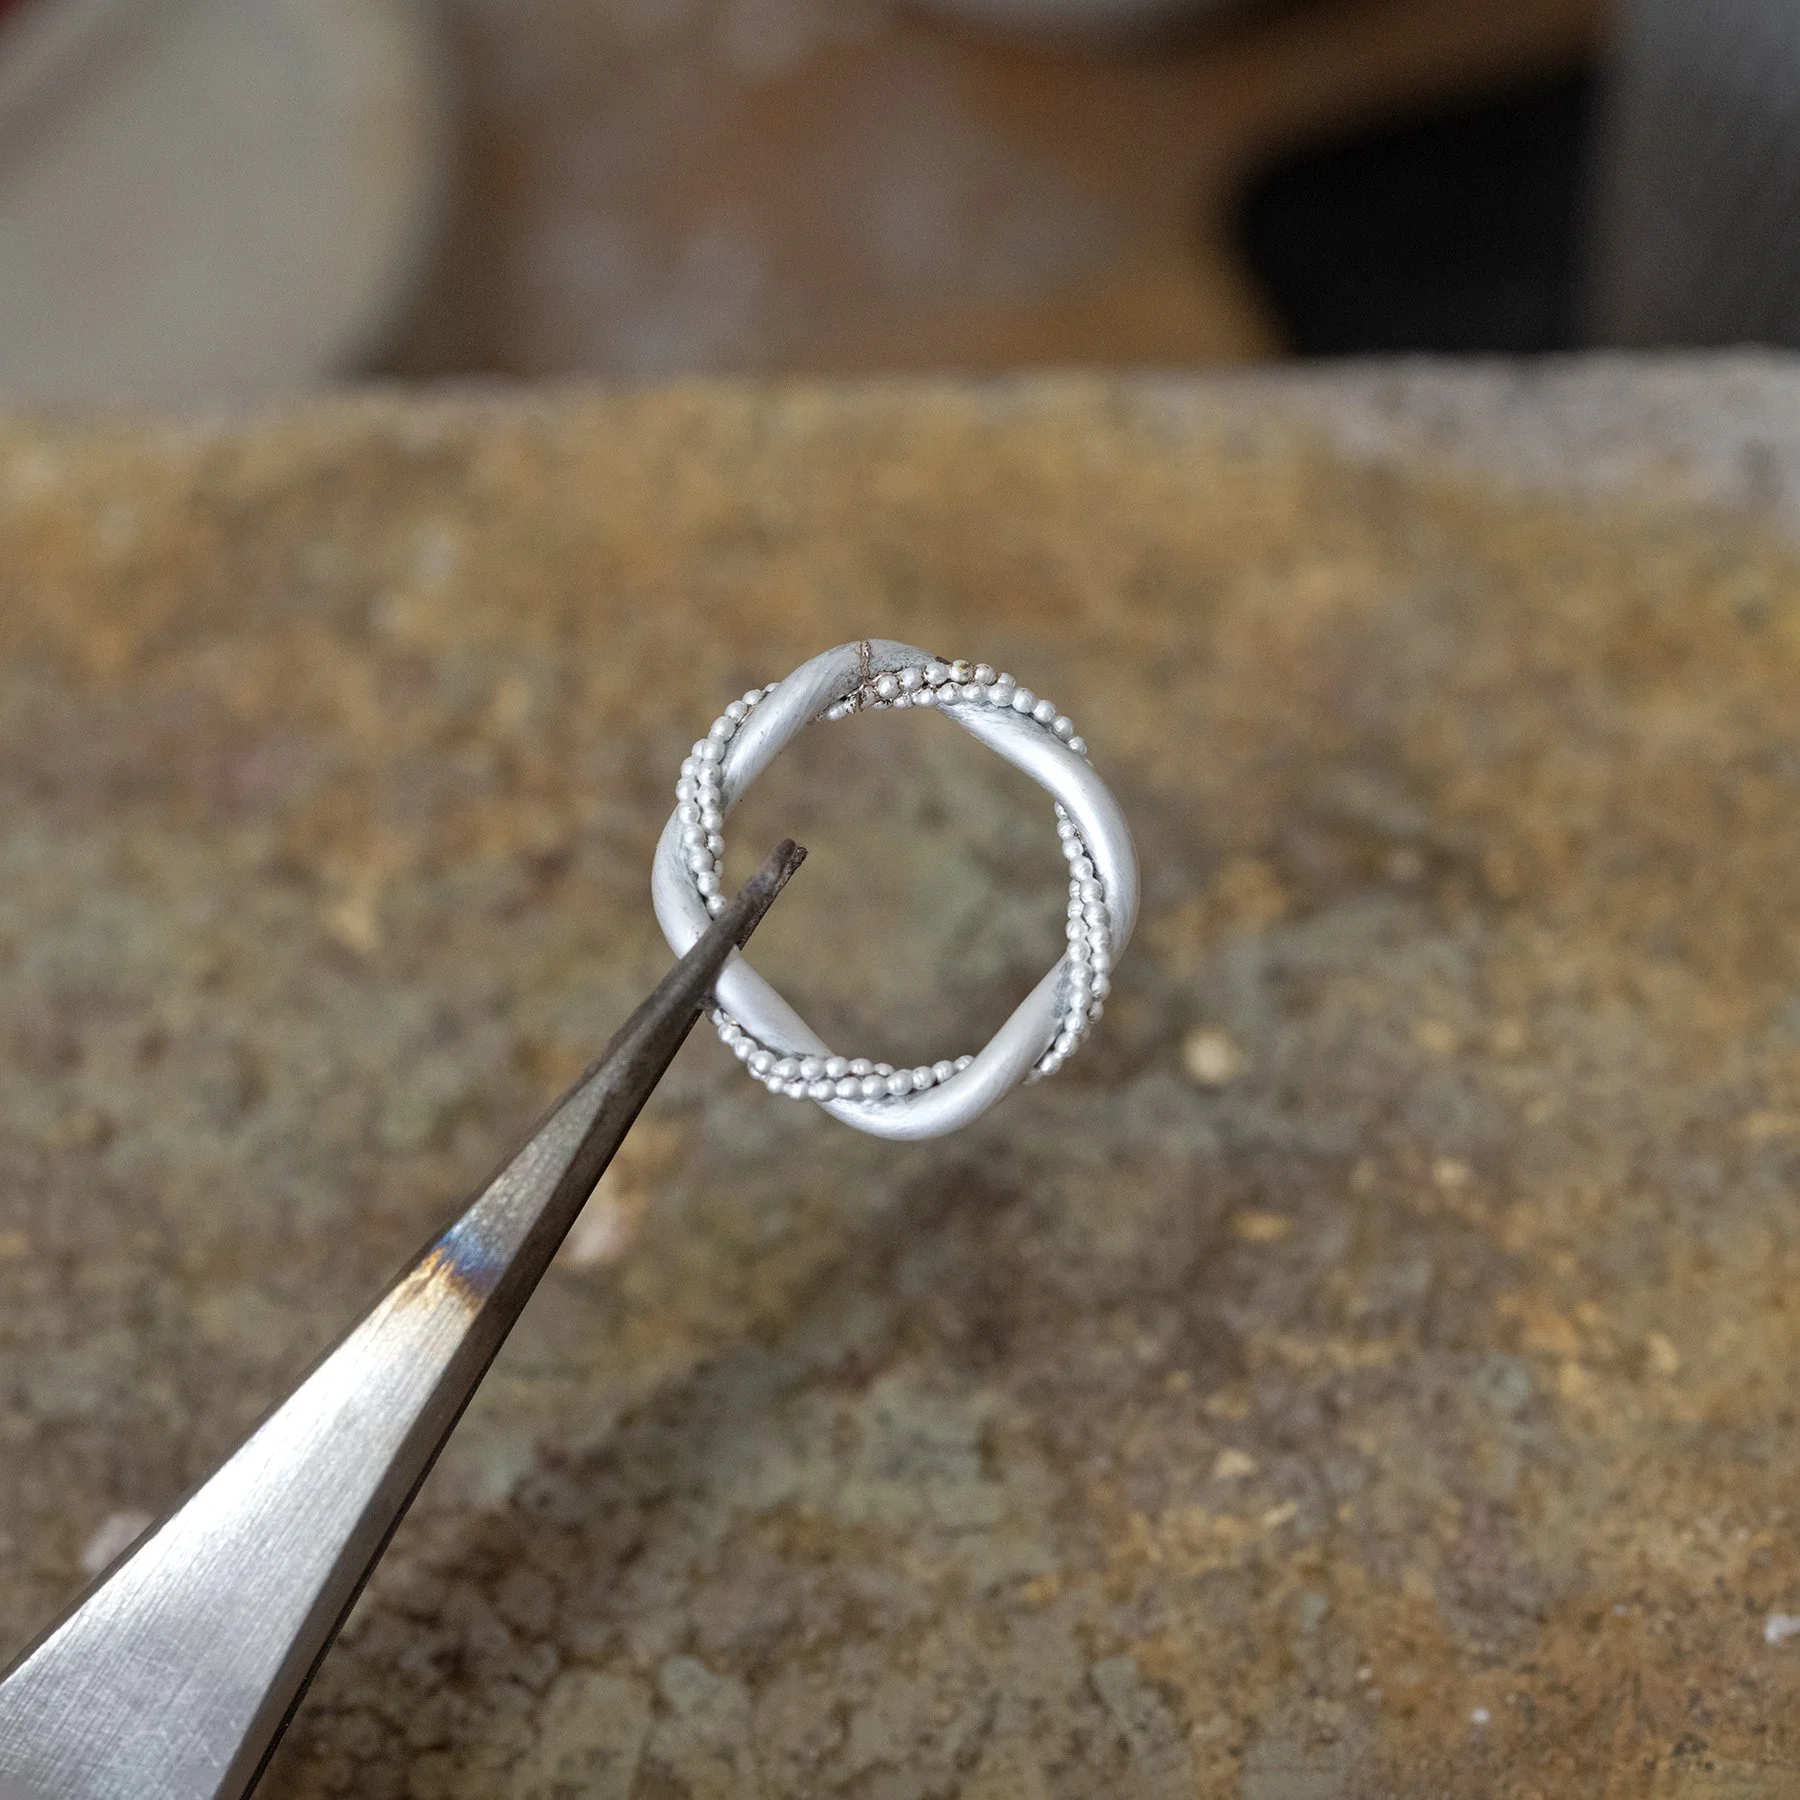
Once the twist is complete, it’s on to the next phase, lots of soldering! I reinforce sections of the twisted wire to make sure the finer wires stay securely in place. This is crucial for the next stage, the forming process. I wrap the twisted wire around a form to start shaping the rings and making sure every overlap aligns perfectly. This is to ensure that each ring will have a fluid twist and a hidden join.

Before I saw through the coil of rings to separate them, I go over the twist one more time, adding extra solder, again to reinforce areas needed, especially along the saw line on both sides where the delicate wire lies. This way, when I finally cut through the rings, everything stays in place.

Ta da! After what feels like a long period of sawing, I finally have separate rings. This is the point where I can see how well they will join, hoping for that continuous pattern in the twist.

I’m now reaching the final stages as I start soldering the joins together. This can take a bit of time given the thickness of the wire, however as with every step, rushing isn’t an option. I’ve found that soldering gradually, bit by bit, leads to a strong clean join which is essential where detail is key for this type of jewellery piece.
Now they’re soldered as individual rings, it’s time to complete the forming process by using a triblet and carefully hammering the rings into a round, symmetric shape. They also need to be hammered flat so there are no wobbles!
Filing and sanding are the last stages and it’s a part I always enjoy. Probably because it’s rewarding reaching this stage, seeing each ring come together.
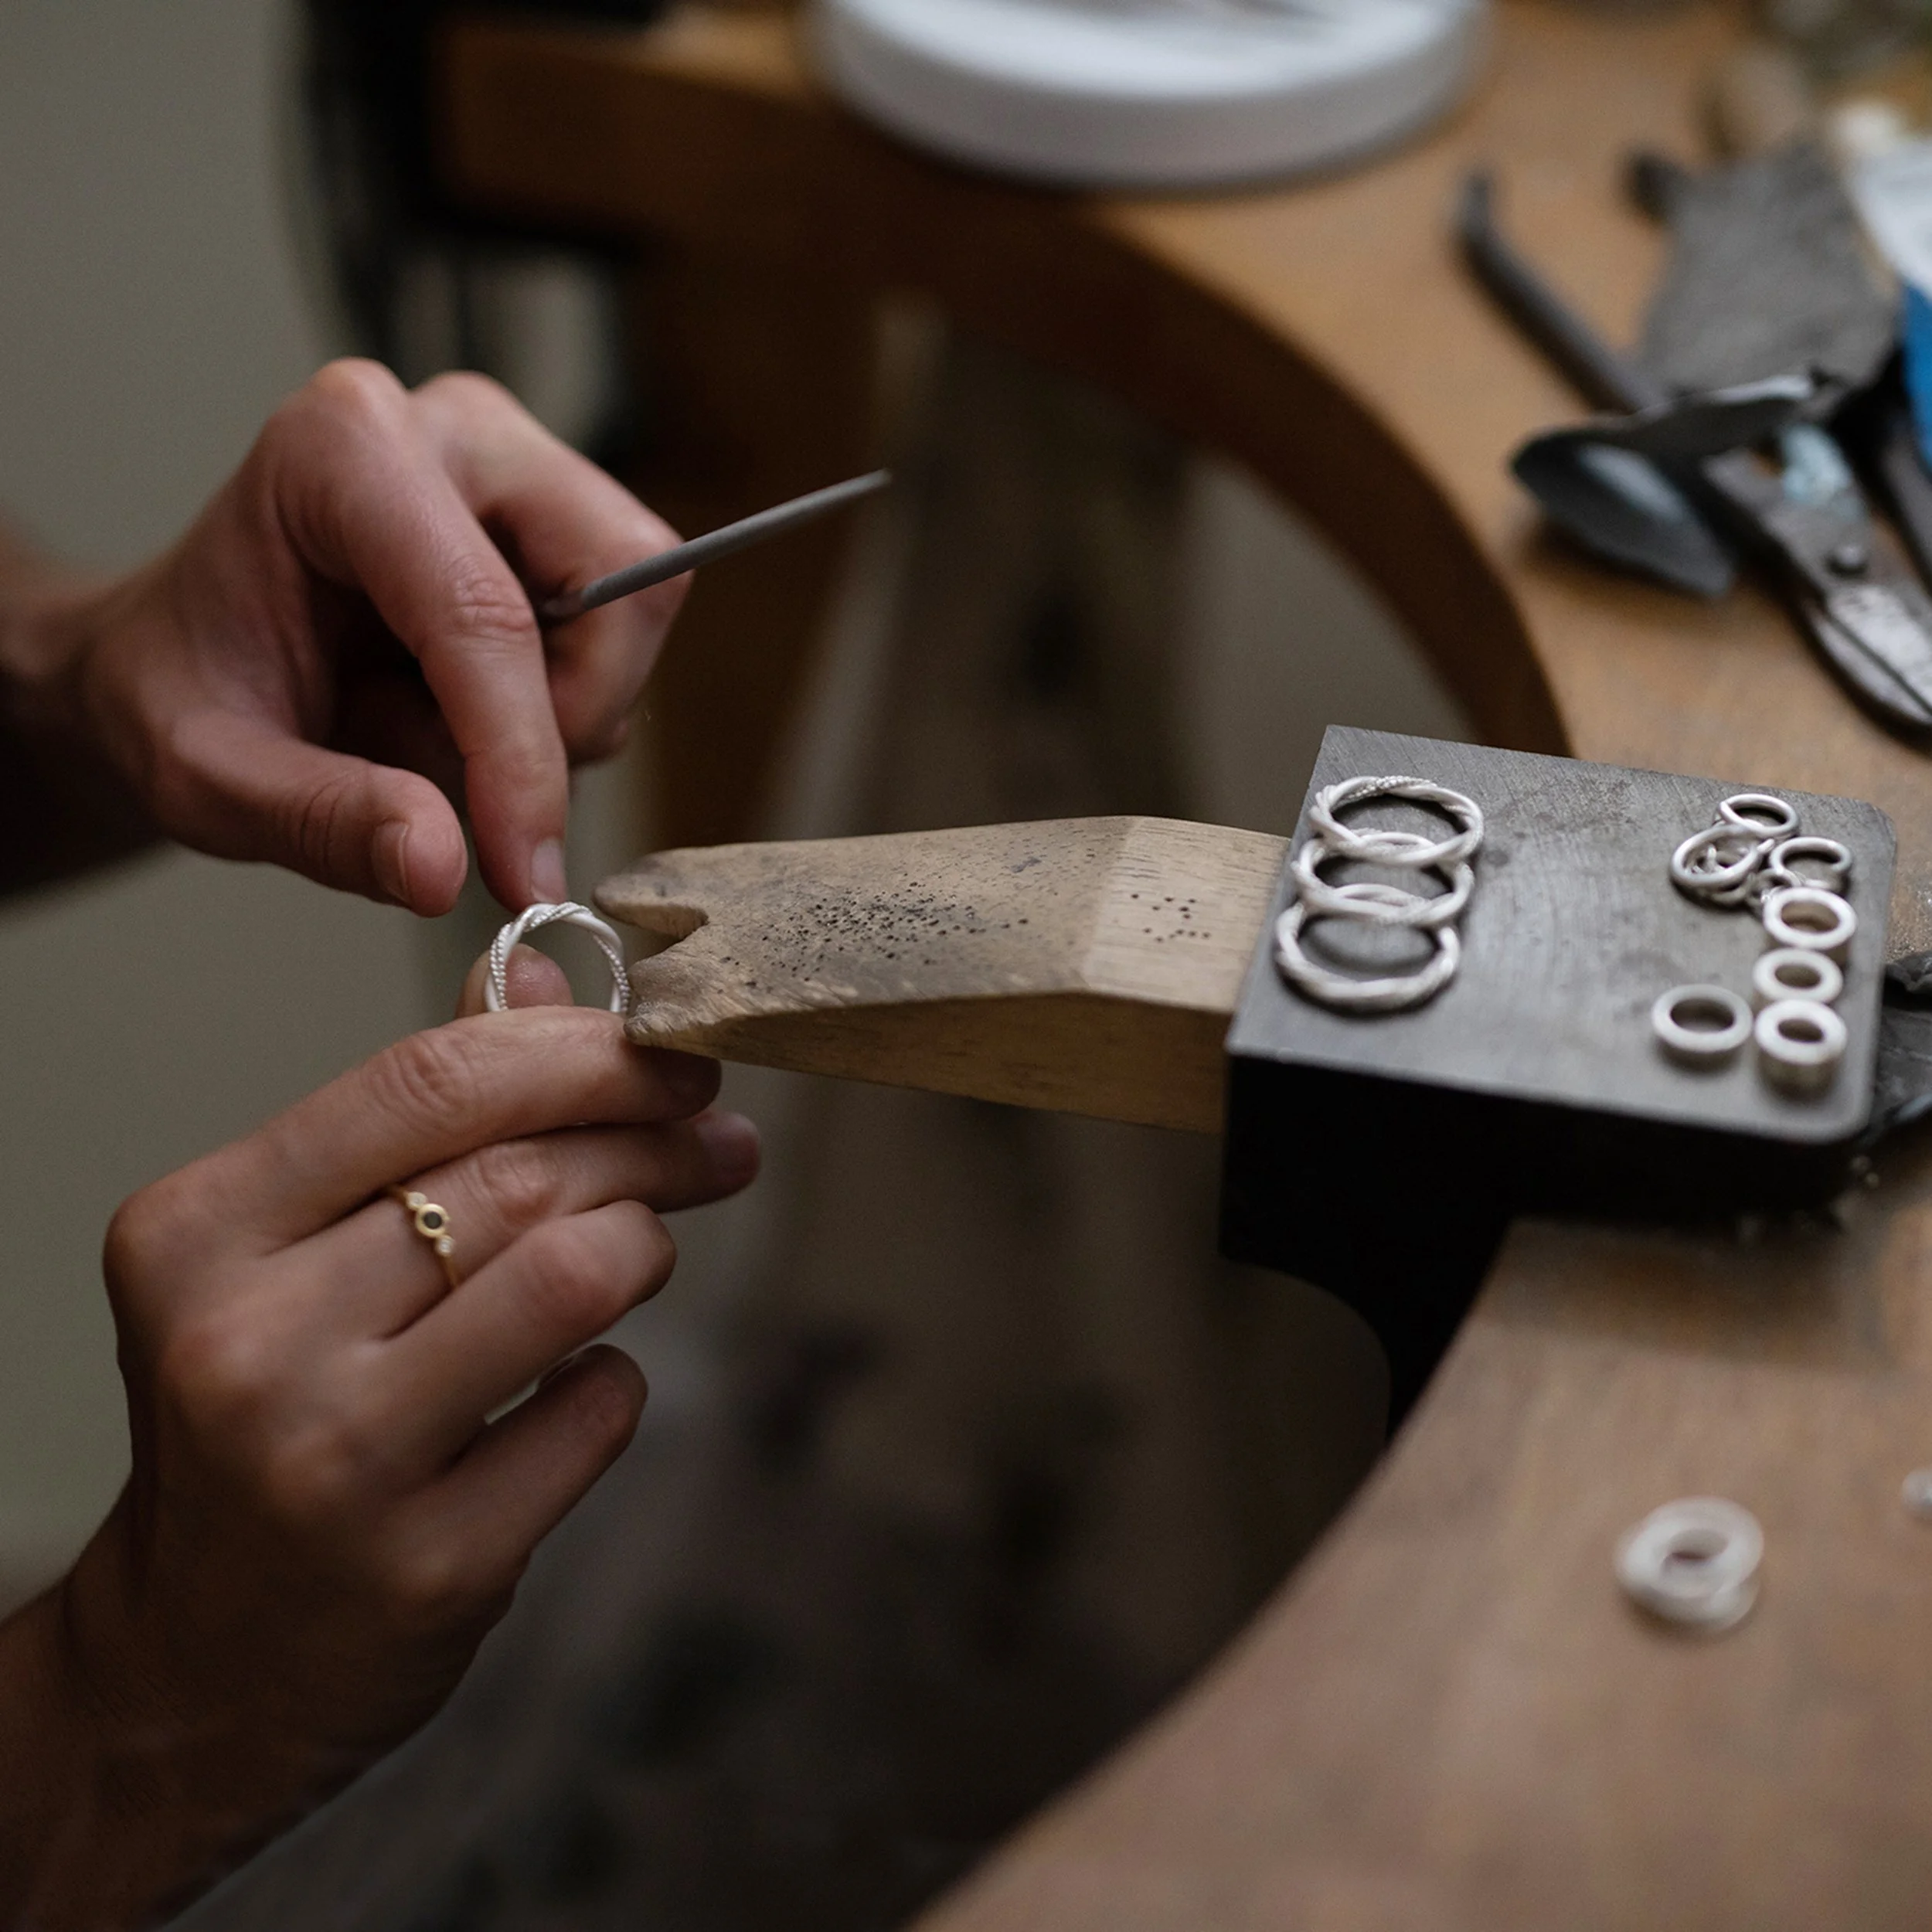
I file the joins using a few different needle files and once I’m happy that the join is hidden and shaped well, I use different grades of sand paper to remove any marks and to ensure a smooth finish.
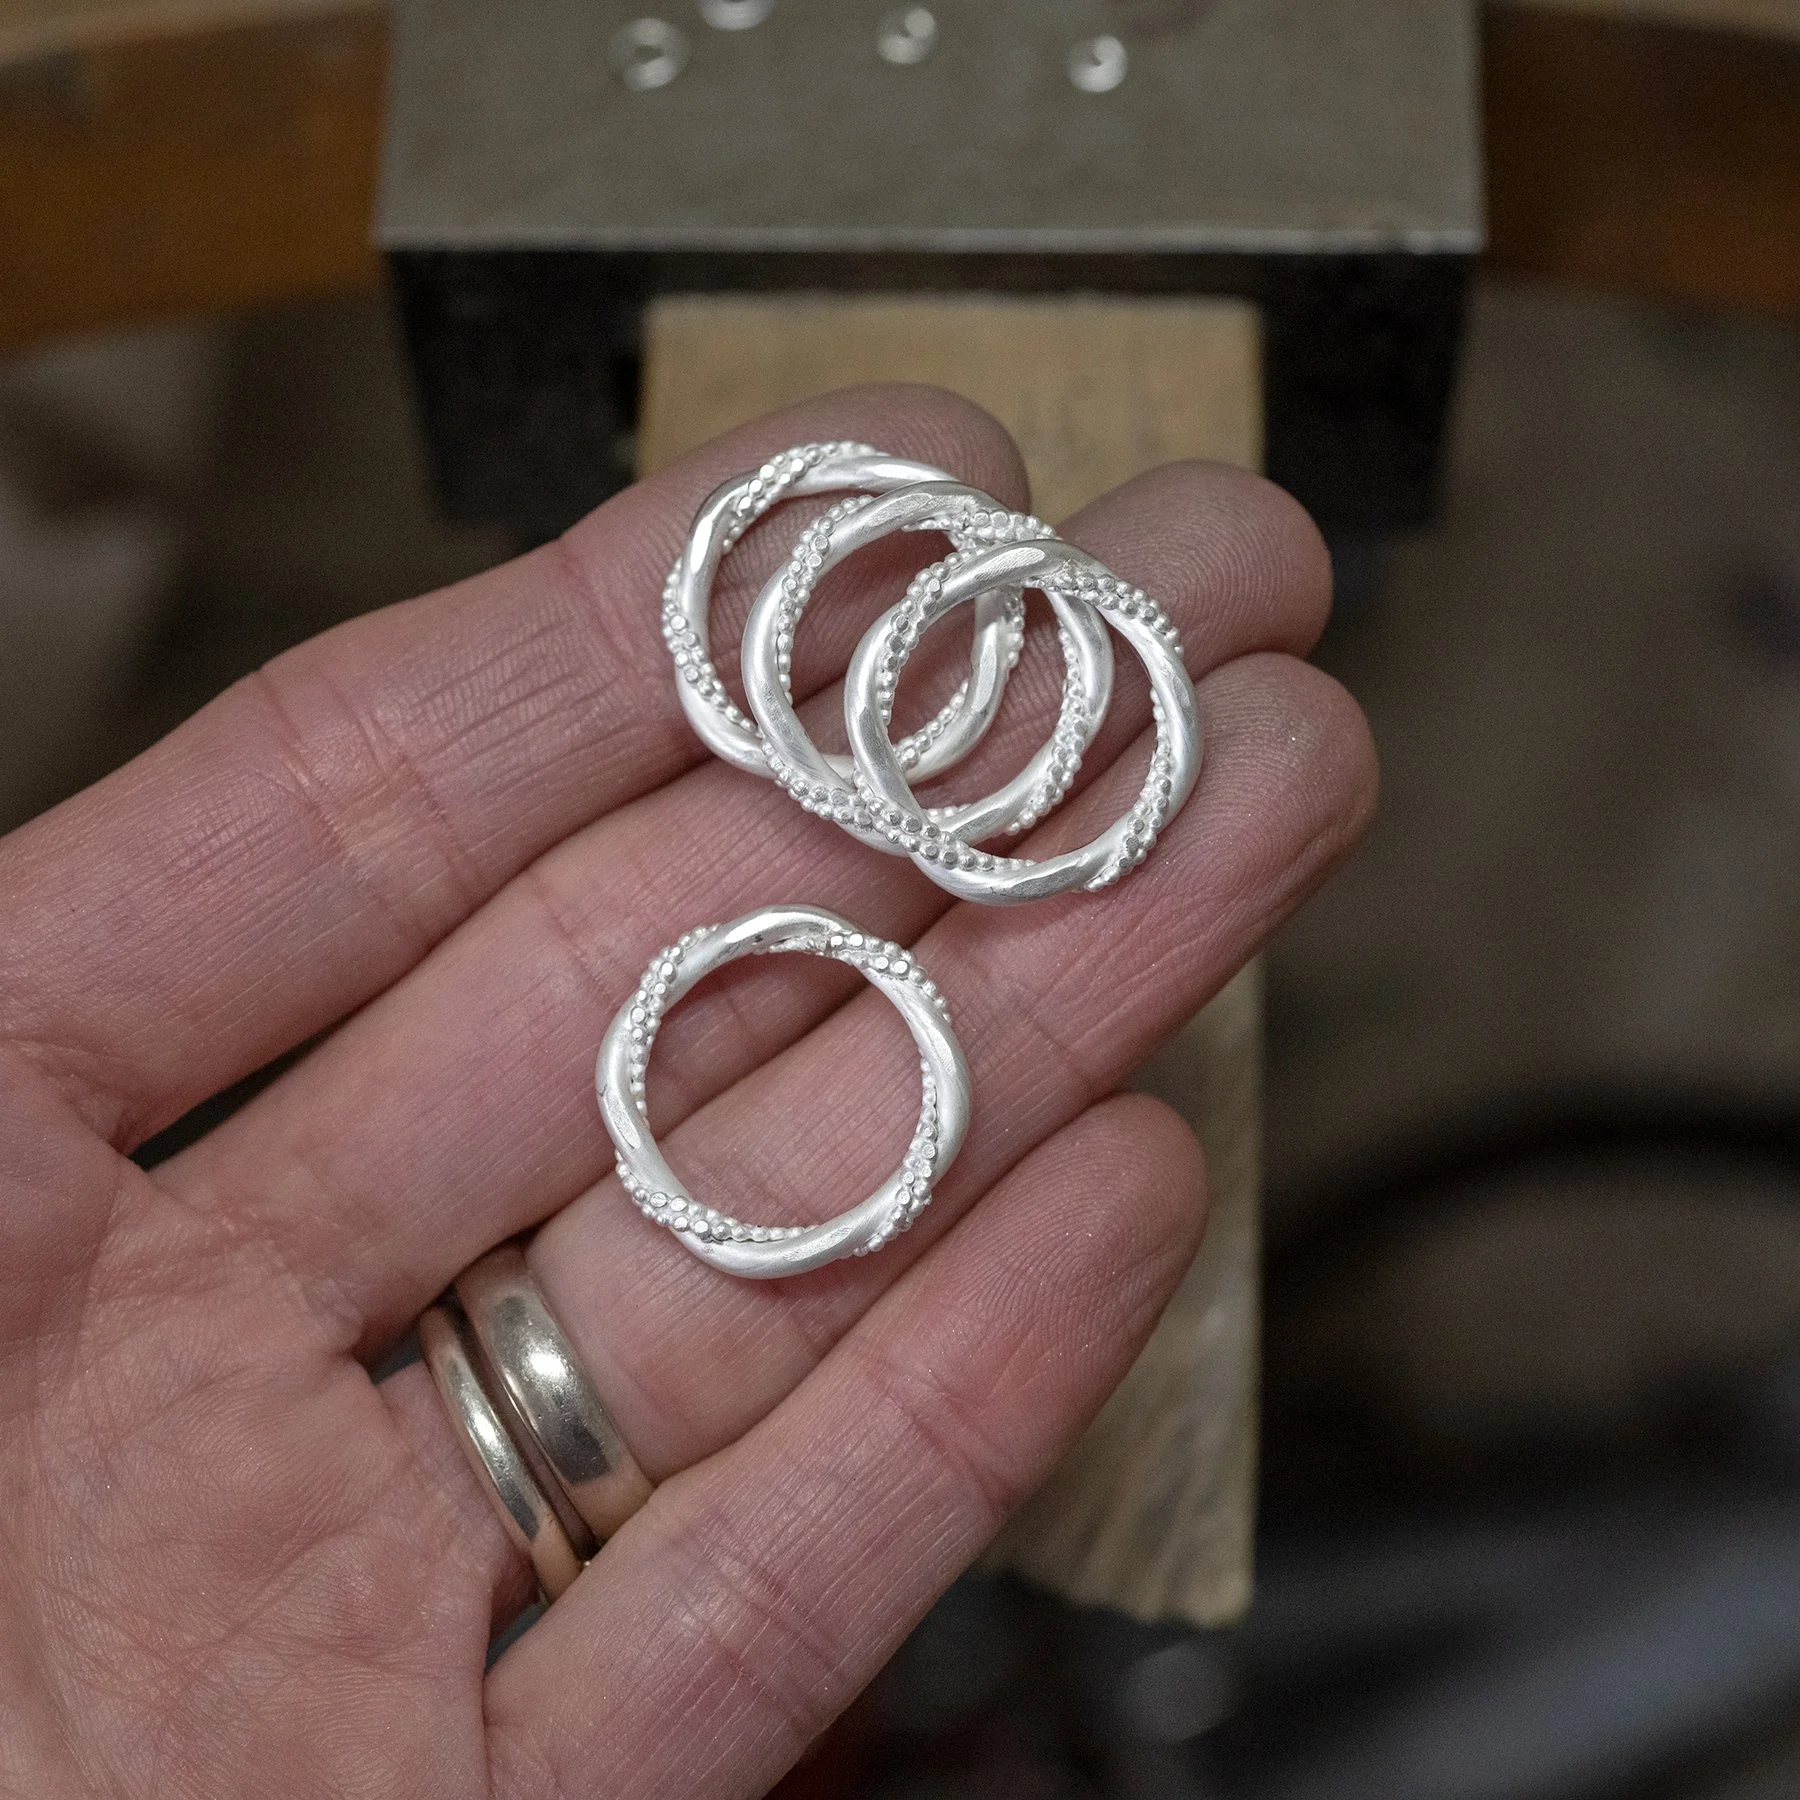
And there you have it, they are now ready to be made into one of the pieces from my Signature Collection!
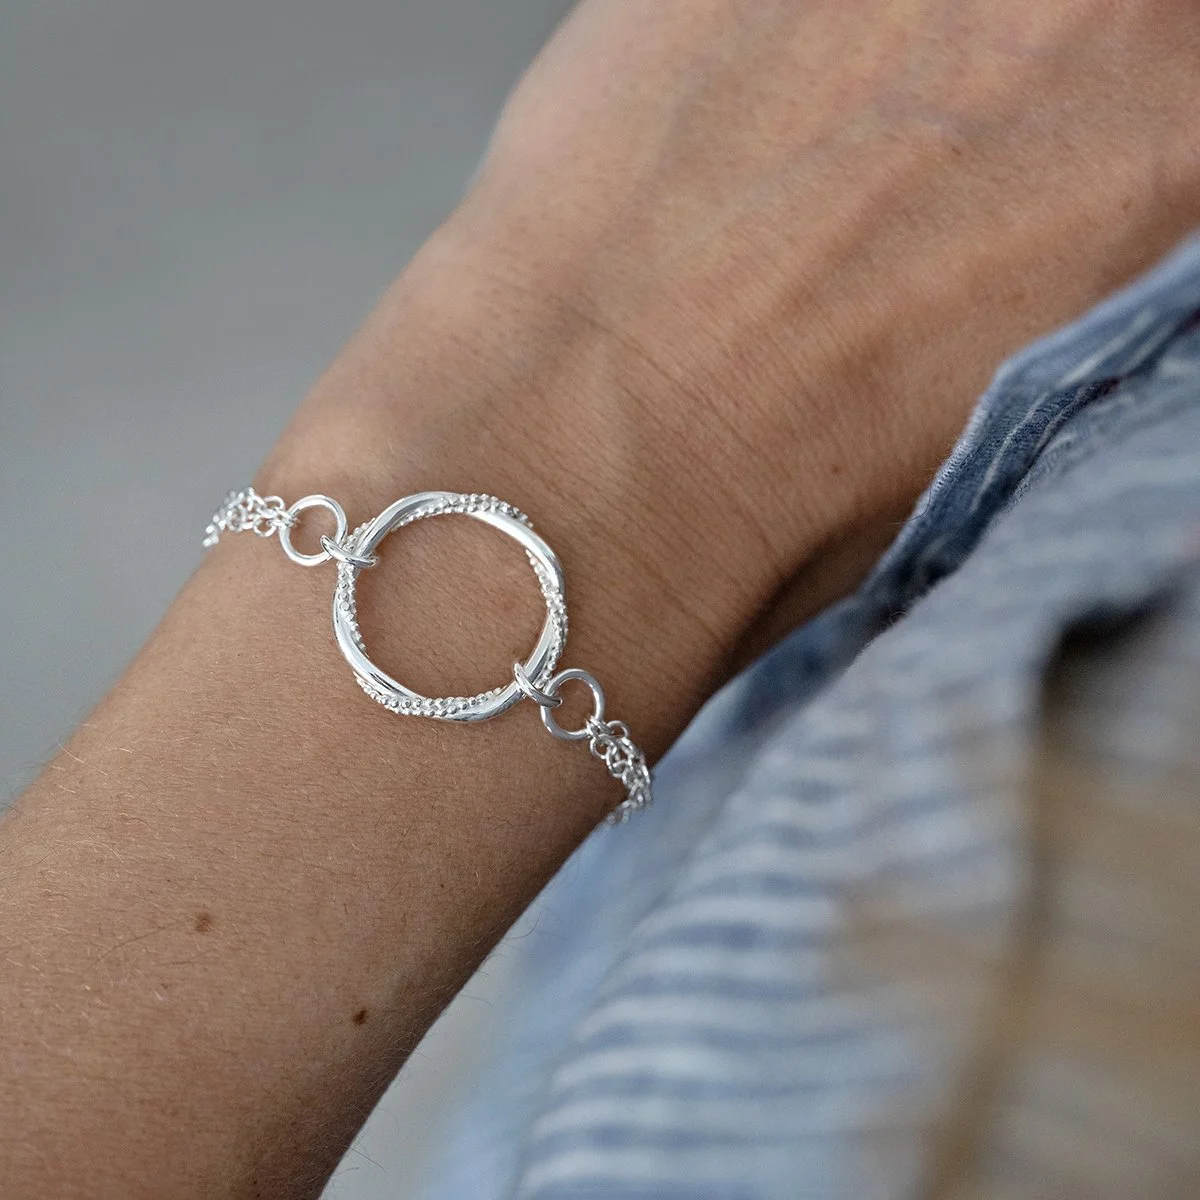
Sterling Silver Entwined Ring Bracelet